We had a couple issues with the sound in our lab's research studio - the space in which we research with users - which we’ve dramatically improved. In this post, I’ll share what was causing those problems and how we fixed them.
First off, watch this video to hear what our sound was like before, and after.
https://www.youtube.com/watch?v=tS_MBr-tWhY&feature=youtu.be
Our primary problem was caused by sound reflections
Sound reflections create an electricity-like buzz in the room, which you can hear. It’s subtle, but there are times when a moderator might be distracted by it. Also, although our participants are aware they’re being recorded, and consent to it, we don’t want to keep reminding them of it.
First you need to know that a good recording environment needs to combine 2 things:
- good sound absorption
- a system to diffuse any reflections in the room
So you can understand why these are important, I need to tell you about room modes.
Room modes and what they mean to your sound
A room mode is known as the pathway available for sound to travel around a room, and in any room they are infinite in number.
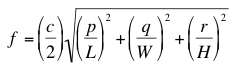
Room modes give birth to a number of ‘glitches’. In my world, they’re called standing waves, resonance, flutter echoes etc. and they’re my sworn enemy. I battle them with acoustic foam, EQ (equalisation) and equations that look like this:
Sometimes to save time, I use a room mode calculator, which gives me a rough estimate of the frequencies that are causing problems.
Now that you know that, it should be easier to understand the next bit.
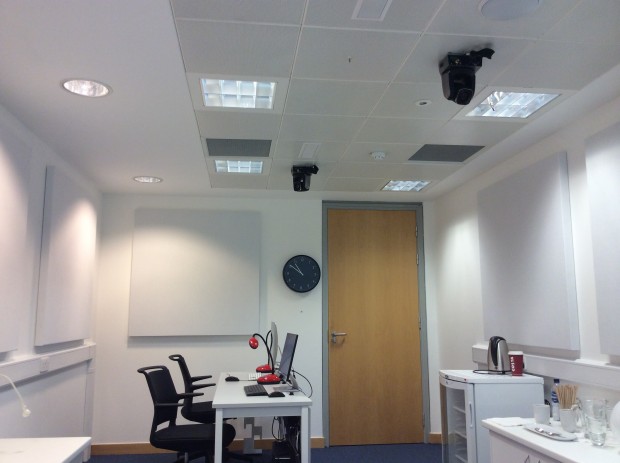
Our lab's microphones and flutter echoes
In our research studio, frequencies related to the room’s dimensions and the reflectiveness of its surfaces (we lacked good sound absorption), were causing sound energy to bounce around the room.
This meant that a particular sound could be heard two or more times within a few milliseconds of each other. This type of echo has a distinct metallic tone and, as the frequencies being bounced around are boosted, they can be hard on the ear. These are known as flutter echoes.
Our lab’s microphones were picking up more flutter echoes and less direct sound, such as someone’s voice.
We improved our sound with acoustic foam
As flutter echoes are excess energy, they can sometimes take a few milliseconds to disperse, especially in a reflective room. In order to control the echos and excess sound energy, the lab needed some sort of sound energy regulator. In simple terms, we needed acoustic foam.
The acoustic foam in the lab specifically targets frequencies between 200hz to 5KHZ, which is where most of the lab frequencies were causing disruption.
Additionally to the acoustic foam, I utilized the EQ facilities of the audio matrix within the lab to do a frequency cut at 400 - 800 HZ, with an emphasis on the 500 kz area.
These changes helped improve the sound both in our lab videos and for people sitting in the observation room.
Keep in touch. Sign up to email updates from this blog. Follow Jonathan on Twitter.
2 comments
Comment by Sacha posted on
Hi - fascinating post. I'd love to hear the before and after, but when I clicked to play the video just now YouTube said "This video does not exist".
Comment by Kate Towsey posted on
Hi Sacha, Ah dear. I'll ask Jonathan who wrote the post to check to see where the video is. Thanks for pointing that out.